We won the „Best of Industry Award“!
PRECISION LIKE A SWISS CLOCKWORK
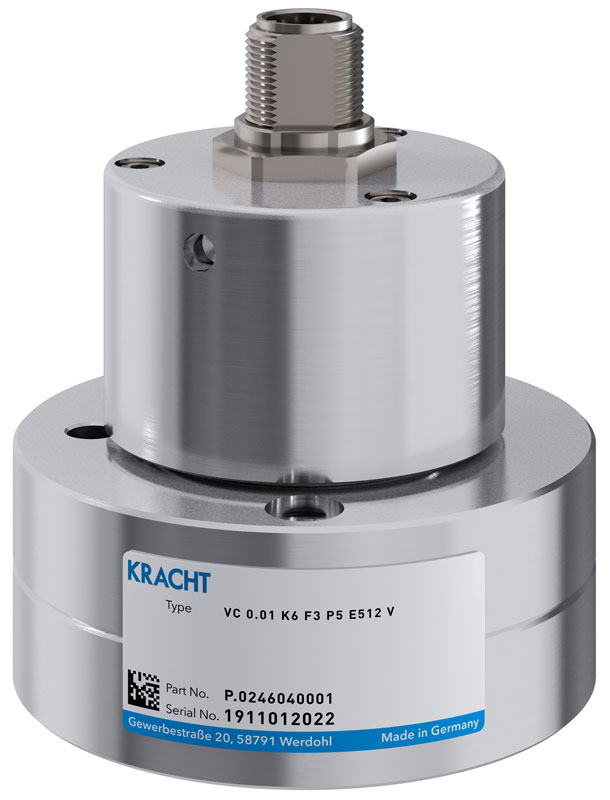
The world’s smallest gear type flow meter accurately measures volume flows from 0.5 ml/min – which is as little as 3 to 5 drops per minute. The VC 0.01 is easily capable of measuring very small volumes and micro-doses of media with viscosities from 0.8 mm²/s.
GEAR TYPE FLOW METER VC 0.01
As a medium-sized fluid measuring technology specialists, KRACHT managed to design a very small volume meter capable of measuring volume flows from 0.5 ml/min, which is as little as 3 to 5 drops per minute, to very high levels of precision. The groundbreaking measuring apparatus can manage media with as low viscosity as water (1 mm²/s = water): handling fluids from 0,8 mm²/s without problem, it ensures that injectors equipped cutting-edge injection technologies can be measured and tested in test beds to high levels of precision.
To realise this development objective, the experts in KRACHT elected to work with extremely corrosion-proof stainless steel as material and subjected all functionally relevant components to a full rework. The newly designed gear geometry guarantees optimal rolling-off behaviour to minimise friction of the measuring element under load. The instrument uses special, ultra high precision ball bearings to fulfil the strict requirements on leak tightness and ease of movement of the measuring element. The specially developed sensor elements allow for the detection of the required frequencies while keeping the constructed size compact and the scanning process frictionless.

KRACHT really did push the envelope of what’s technically feasible when it comes to the production and assembly of the flow meter. The manufacturing process relies on special production machines which are exclusively used for this specific product. In addition, a statistical process control (SPC) process was adopted to ensure micrometre precision and stable conditions throughout production. What is more, component production and assembly is air-conditioned and thoroughly monitored. Also, since even the tiniest particles can have a negative effect on the assembly of the high precision measuring devices, a sophisticated concept to ensure component cleanliness and specifically for assembly workplaces was developed. This has allowed the manufacturer to achieve a maximum of component cleanliness as well as ideal assembly conditions. Amongst other things, the concept relies on a special ultrasound cleaning system custom designed for the new flow meter.
Assembly of the world’s smallest gear type flow meter takes place in purpose-made workplaces in a clean air environment using superfine air filters. This helps compensate even the smallest tolerance variations in the micrometre range, thanks to specific calibration processes and stable climatic conditions. The process is documented and subjected to a continuous statistical analysis to realise even more potentials for optimisation. In the next step, every single unit is put to a final inspection and is calibrated on a high-precision calibration stand designed for small flow rates and low viscosities, and the results are recorded in a digital calibration log. This is to make sure that every unit which leaves the factory meets the demanding application requirements, and that this can be proved.
To sum up, KRACHT’s very small volume meter not only helped bring down the lower limit for gear type flow meter-based fluid measurements, the new system also makes test beds future-proof because it allows injectors with cutting-edge injection technologies to be tested.

TECHNICAL DATA
Lower measuring limit: 0.5 ml/min
Minimum viscosity: 0.8 mm²/s
APPLICATIONS
> For monitoring of microdosing processes in the
pharmaceutical and cosmetics industry as well as
in the chemical and petrochemical industry
Production
> Extremely corrosion-proof stainless steel
> All functionally relevant parts are optimised
> New gear geometry
> Minimised friction inside the measuring element
> Special, ultra high-precision ball bearings
> High-resolution sensors
Assembly
> Ultrasound cleaning system
> Special calibration processes to compensate even the smallest tolerance variations
Calibration
> Detailed recording and statistical analysis


